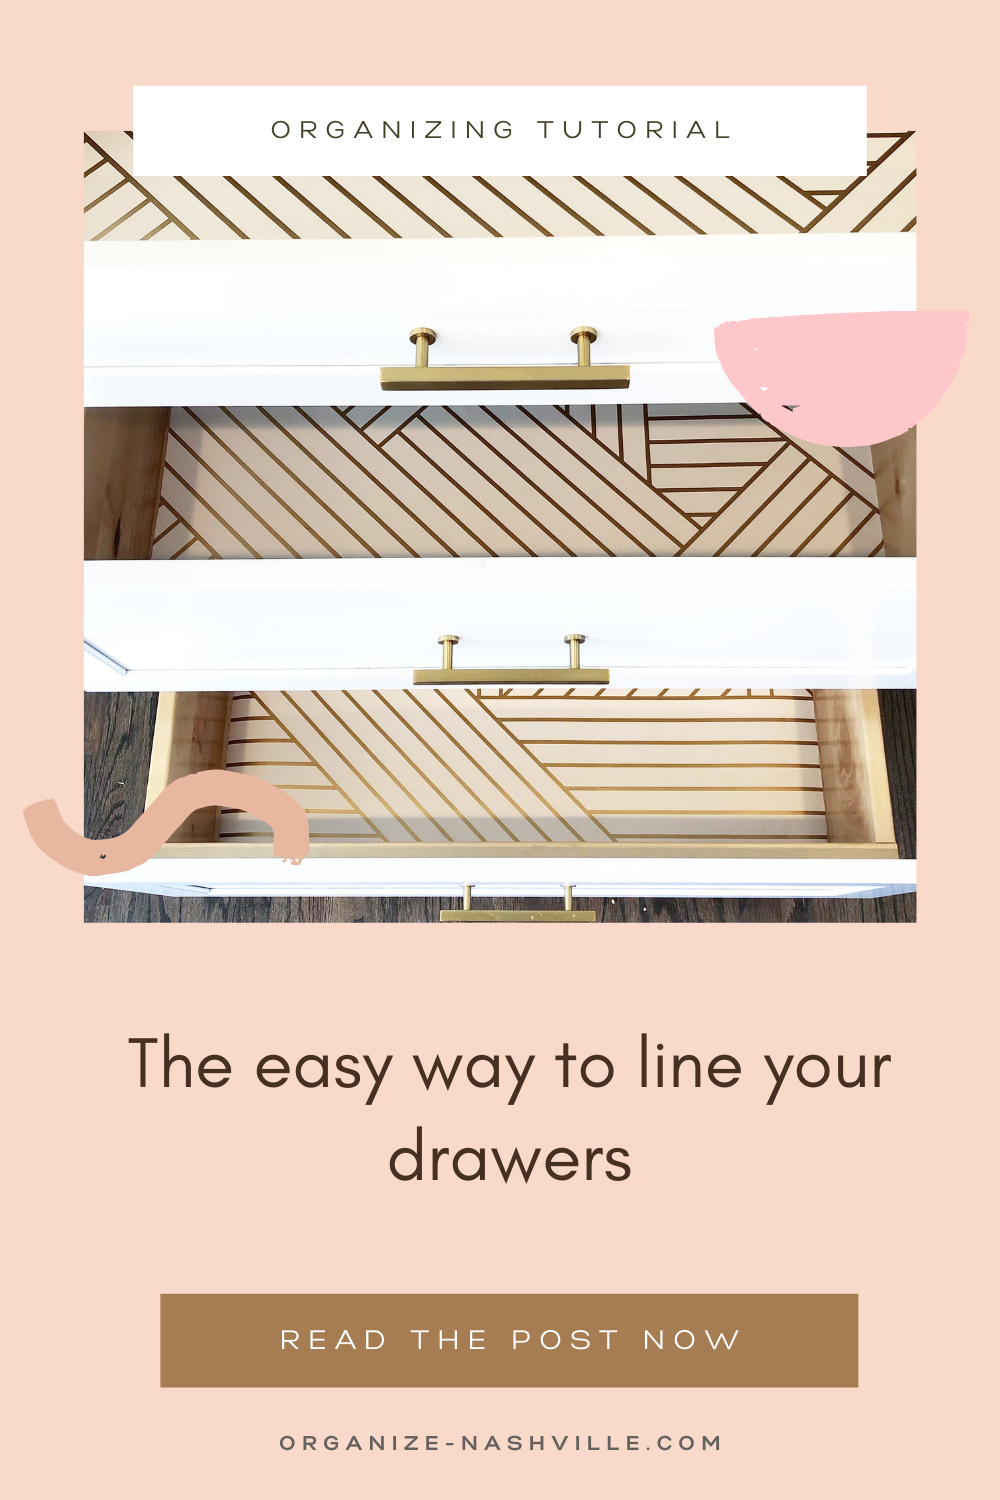

How to line your drawers
All things considered, this is not your average 2020 size problem buuuut that 1980s contact paper that was there when you moved in has been driving you crazy, amiright?
I know, I know. This is one of those little things at the very end of your to-do list but its also the very thing that pokes at you every time you open your silverware drawer. So I’m sharing how to take your drawers to the #nextlevel with this easy tutorial on how to line your drawers with removable wallpaper.
Here is what you need to get started:
Removable Wallpaper (your choice!)
Tape Measure
Pencil
X-acto Knife + Cutting Board OR Scissors
Straight Edge/Ruler
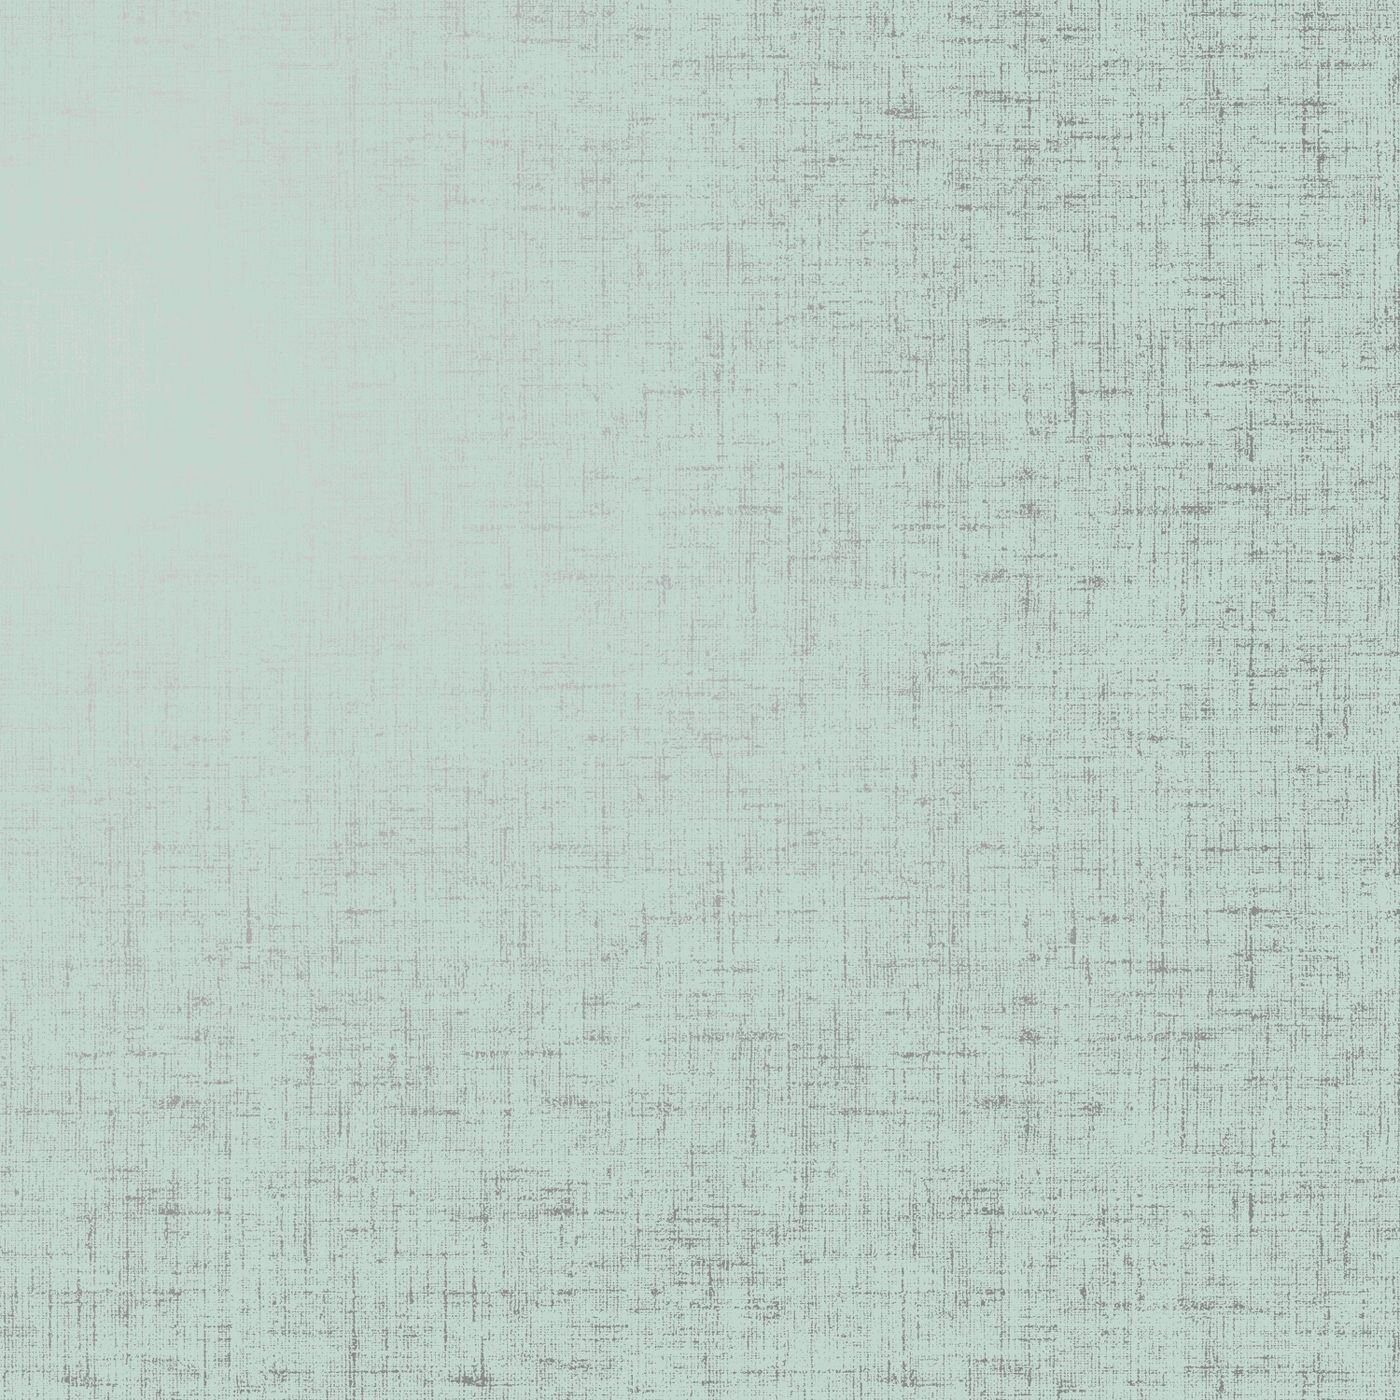
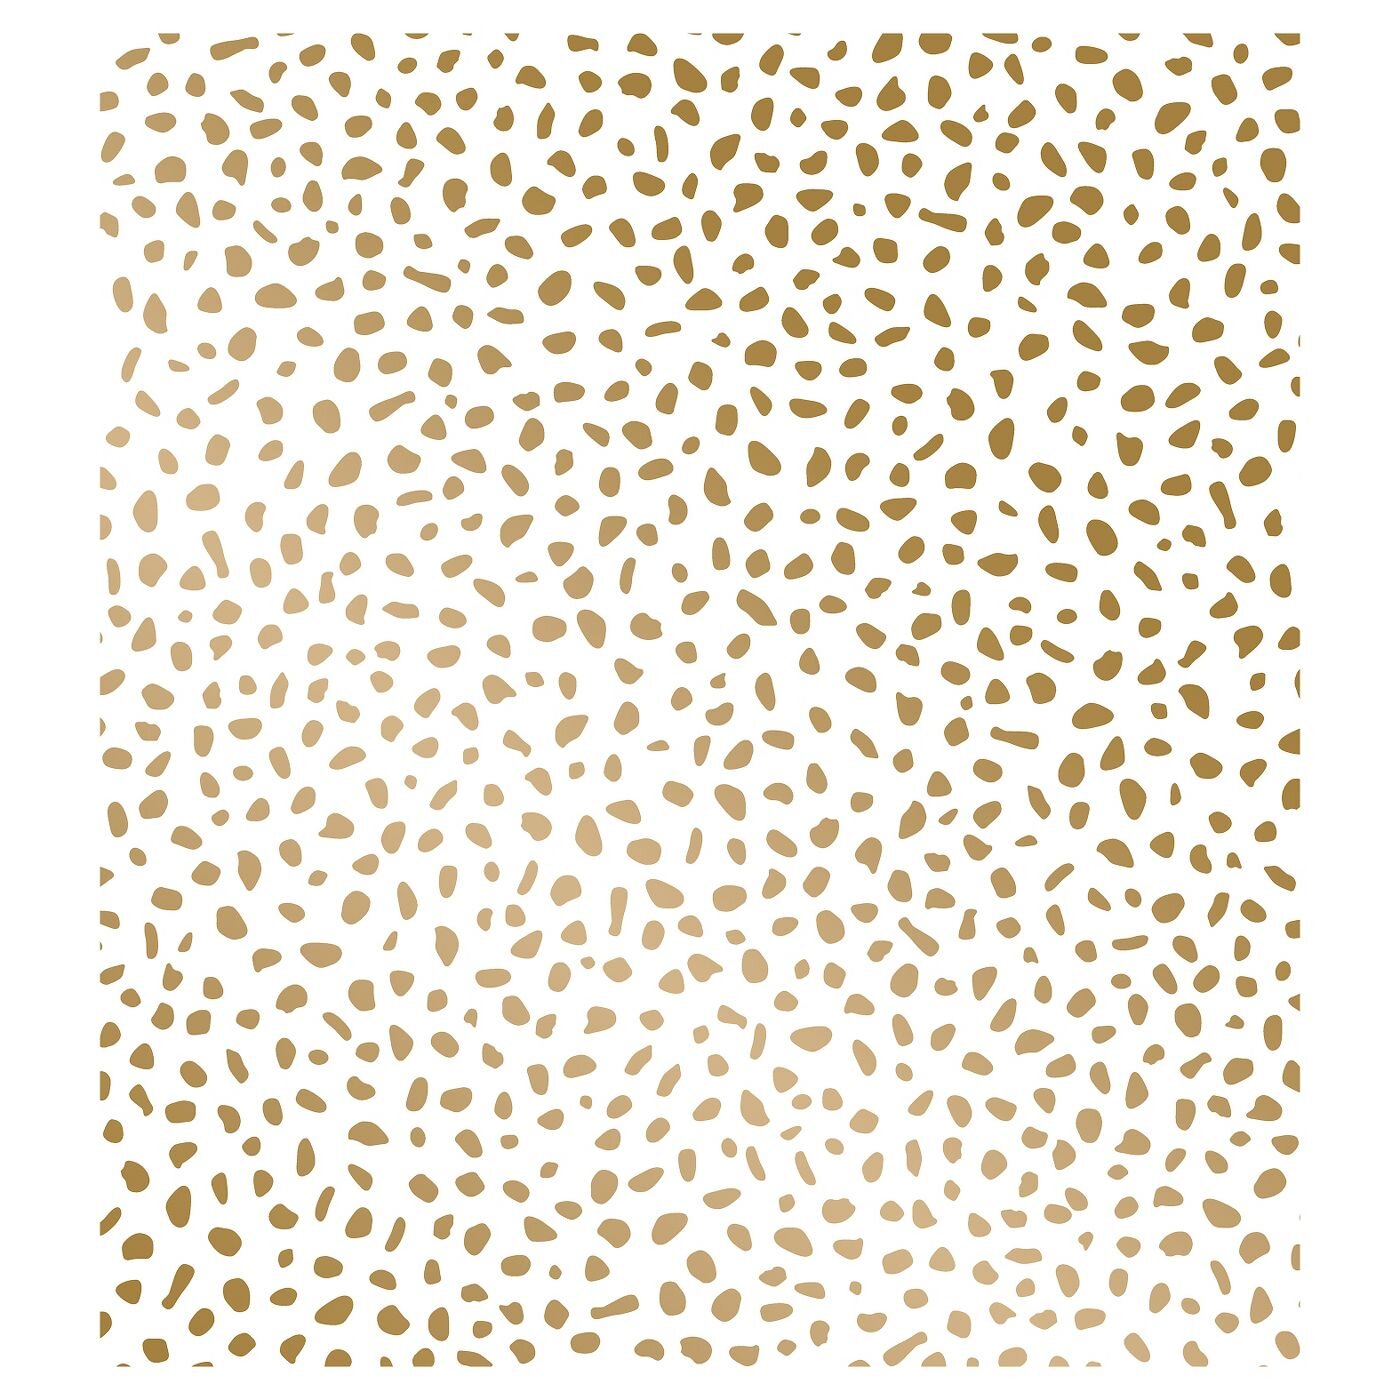
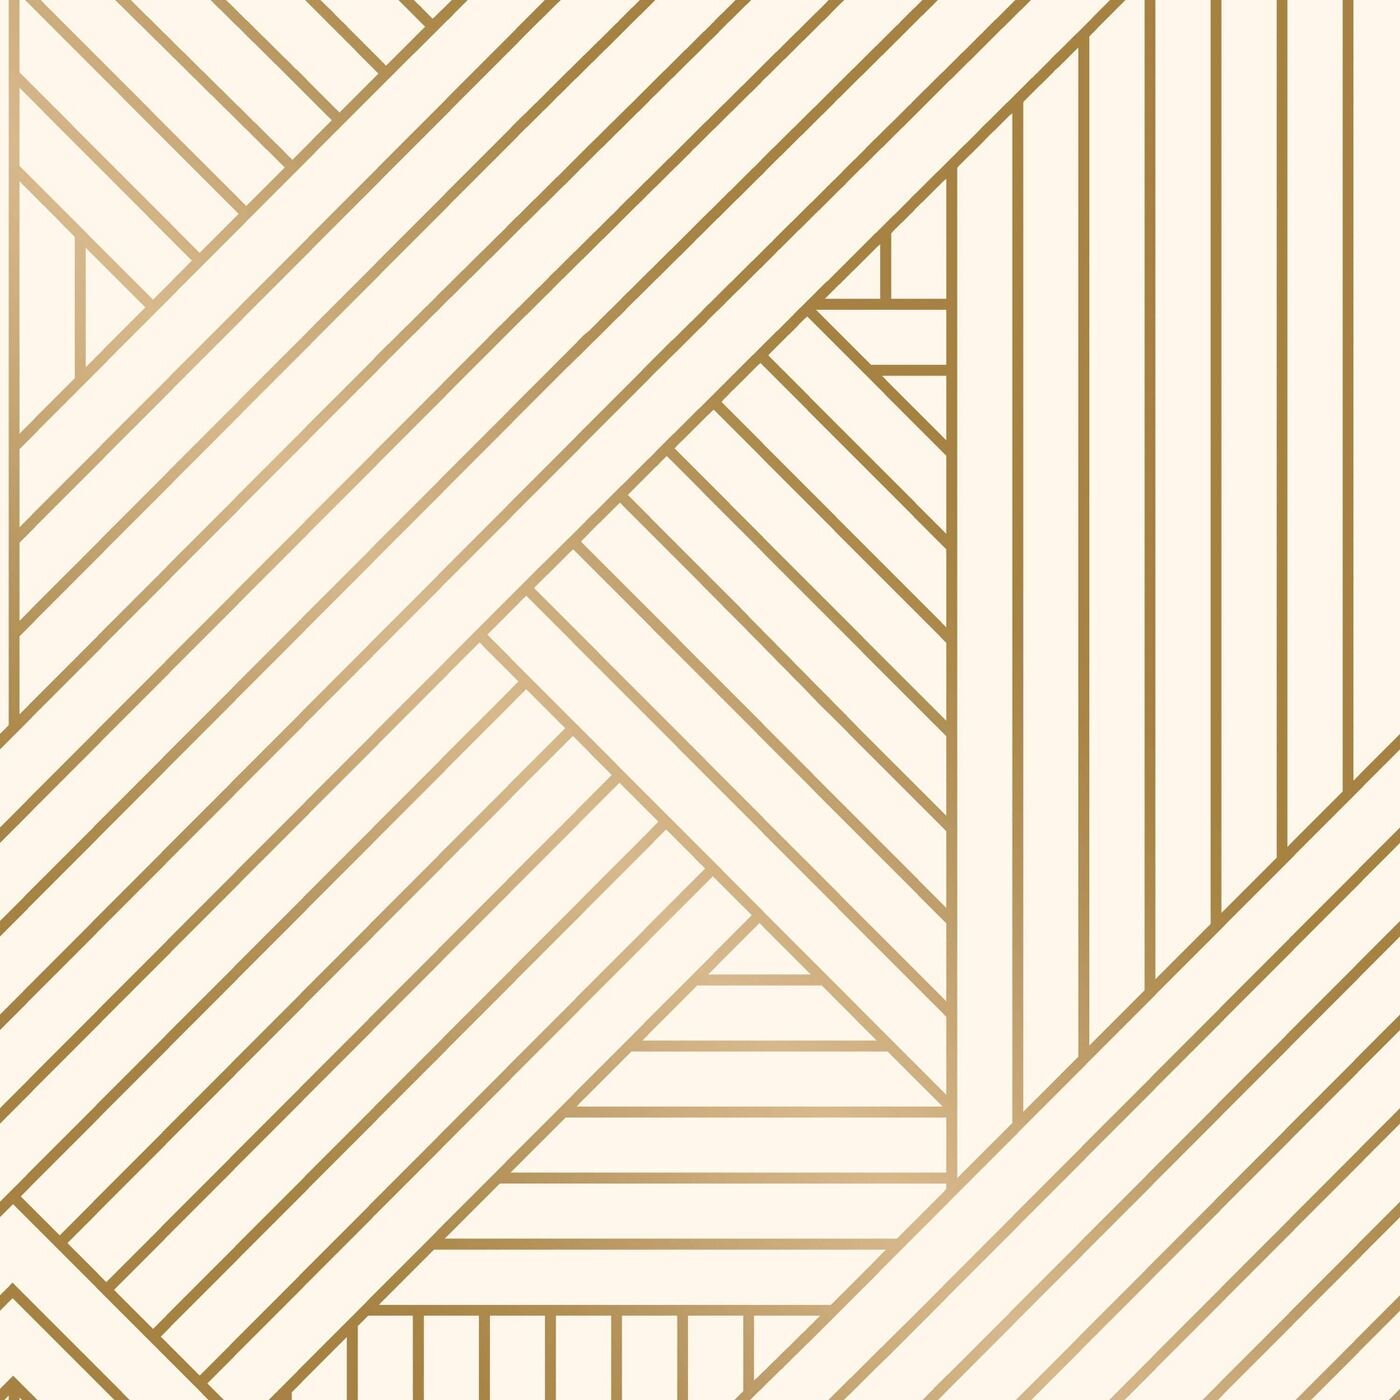
The fun part ⏩ Pick out your desired paper. I love to use removable wallpaper for this purpose. I recommend staying away from super sticky papers like Contact Paper and grid mesh where crumbs can get stuck. Here are a few of my favorites:
Installation:
Measure the inside of your drawer by finding the interior depth (size from front to back) and width (size from side to side - left to right). Write these numbers down.
Subtract ¼” from each of your measurements (this will allow for a ⅛’ of wiggle room on each side when placing in your drawer). So if the depth is actually 14, you will measure 13 ¾” for cutting your drawer liner purposes.
Now lay out your paper on a flat surface and use these subtracted measurements to determine how big to cut your paper. Cut the liner using a straight edge and scissors or an xacto knife. If your straight edge does not extend across your whole paper, measure in three spots and connect the dots using your ruler to form a straight line. Cut here.
TEST THE SIZE IN THE DRAWER simply by placing it inside. If it is a snug fit, I would recommend cutting an additional ⅛” to ¼” to allow for adjustments and imperfections during placement.

Inserting the Liner in the Drawer (AKA Embracing Imperfection):
Now this part seems like it would be no problem but its actually kind of hard. In doing this with a friend, I realized how imperfect of a science it is. Like really, you have to LET GO of perfection when doing this. There will likely be a wrinkle or a bubble (ITS OKAY!). It might not be perfectly centered (BREATHE!). The paper may bump the edge on one side and not on the other (even if you measured perfectly!). Don’t obsess about this. You’ll be putting your stuff on top of this. The purpose is to make drawers easy to wipe down/vacuum out and most importantly add a little pizazz to the inside.
For the install, definitely follow the instructions on the paper. If you are using removable wallpaper, here is the “technique” I used (note I am right handed):
Start on the left side and peel back about 2 inches of the backing off only. Work on place the that piece from back to front on the left side (watch video here to see). Then slowly pull the backing off and use your hands to flatten across the drawer base.
If you see bubbles, you can lift the paper back up to that spot and replace. Some people use a credit card to smooth but I found this only to lead down a rabbit hole and also led to more wrinkles. I found that if I placed the first 2 inches well, the rest went down pretty easily.
Continue the removal of the backing // smoothing of the paper on the base until you have completely covered the drawer. Boom! Done.
Here is the video of that “technique”:
Seriously, I’m not a perfectionist when it comes to this and in this scenario I really believe done is better than not. Don’t let perfection keep you from completing this (or lead you to wadding up the paper in frustration and throwing it away - asking for a friend).
JUST.FINISH.IT.