

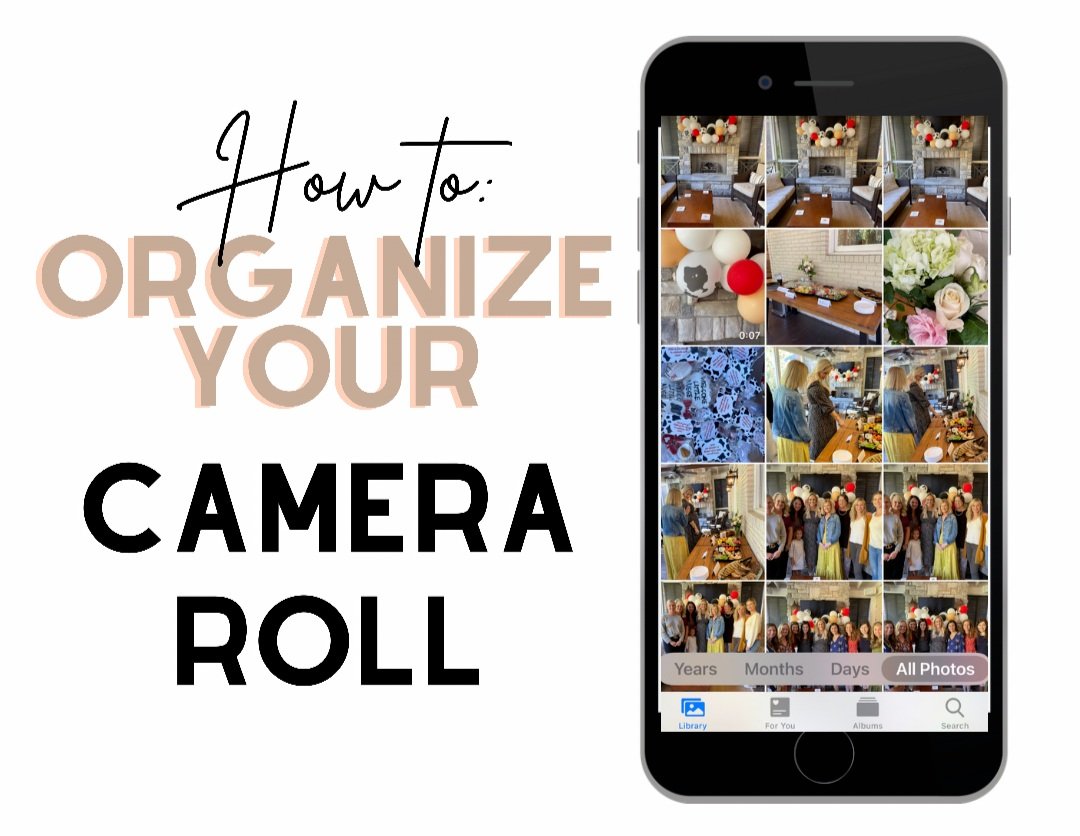
Organize: Your Camera Roll
Last week on Instagram, I shared a reel with a few tips for organizing your phone’s camera roll. This will be a step by step tutorial on how to organize your camera roll using google photos. I will share my favorite solution for:
storing your photos
sharing your photos seemlessly across multiple devices
organizing your photos in chronological order
how to backup and secure your photos with ease
how to keep up with deleting duplicates, blurry photos and screenshots
organizing your photos in preparation for creating an annual photo album in Shutterfly
How To: Store, Share, Organize + Back-Up Your Photos
This solution is super simple to use, easy to install and free. Yet, some people still don’t know about it. Google Photos is the solution to all of your photo storage needs.d I am going to walk you through how you can declutter your camera roll (using google photos) and make it super easy to create an annual photo album in Shutterfly too!
In case you are new to Google photos, it is an app you can download on your phone and to your computer. You can also access it easily through your gmail account. Here is why I chose it:
Easy to use on my phone and syncs with my gmail account
Stores high quality photos (up to 15GB) for FREE in chronological order
Advanced search options make it super easy to find what you are looking for (by date, activity, facial recognition, location, etc)
Able to easily share with my family
Trusted and secure
Automatically uploads and saves all photos and videos to the cloud (no work on my end!)
Loads directly to Shutterfuly which makes making my annual photo album super easy (more on that to come!)
You may have 525, 600 photos on your phone. That is overwhelming and it can feel impossible to know where to start. So my advice is to start small and start with today. As I mentioned at the beginning of this post, google photos organizes your photos chronologically and has a great search tool, so if you’re goal is to put all your phone photos safely in one place and in chronology order, just install the app. The only reason to take it a step further is to:
free up space (google will make suggestions to keeep or delete screenshots and blurry photos to make this super easy!)
create albums for sharing
make it easy to create an annual photo album in Shutterfly
How to: declutter your camera roll
Step 1: Identify and setup one secure location for automatic upload of your photos ➡️ Google Photos!
Step 2: Declutter today’s photos.
Open Google Photos. Start small and start with today. Select the check mark in the top right corner. This will select ALL PHOTOS FOR TODAY. Go through and “uncheck” all photos that you want to keep. You read that right: UNCHECK THE PHOTOS YOU WISH TO KEEP. At the bottom of the page, you will see the option to share, add to an album, DELETE, order prints and back up. Since we are decluttering, you are going to select delete. Continue this process for the current month.
Step 3: Permanently delete photos and clear up space.
Open Google Photos. Go to Library on the bottom right of your screen. Select “Trash” in the top right of your screen. Tap “…” the three dots and select empty trash. This will permantenly delete the photos you selected in step 2 and free up space in Google Photos. If you don’t complete this step, Google Photos will automatically delete your trash photos after 60 days in the trash folder.
Step 4: Repeat steps 1-3 for subsequent months.
If you have the margin to go backward and delete blurry photos and duplicates from previous months, then by all means, please do so. You should know:
Google will make suggestsions for screenshots and blurry photos to delete as well
You can purchase more space if you need more than the FREE 15 GB provied (this includes email and items saved to Google Drive)
How to: organize your camera roll for a family photo album
Step 1: Install and set up Google Photos.
Step 2: Create a new album in Google Photos.
Open Google photos. Tap Library. Tap the “+” PLUS sign to create a new album. Label the album “CURRENT MONTH YEAR.” For example, I will label mine October 2021.
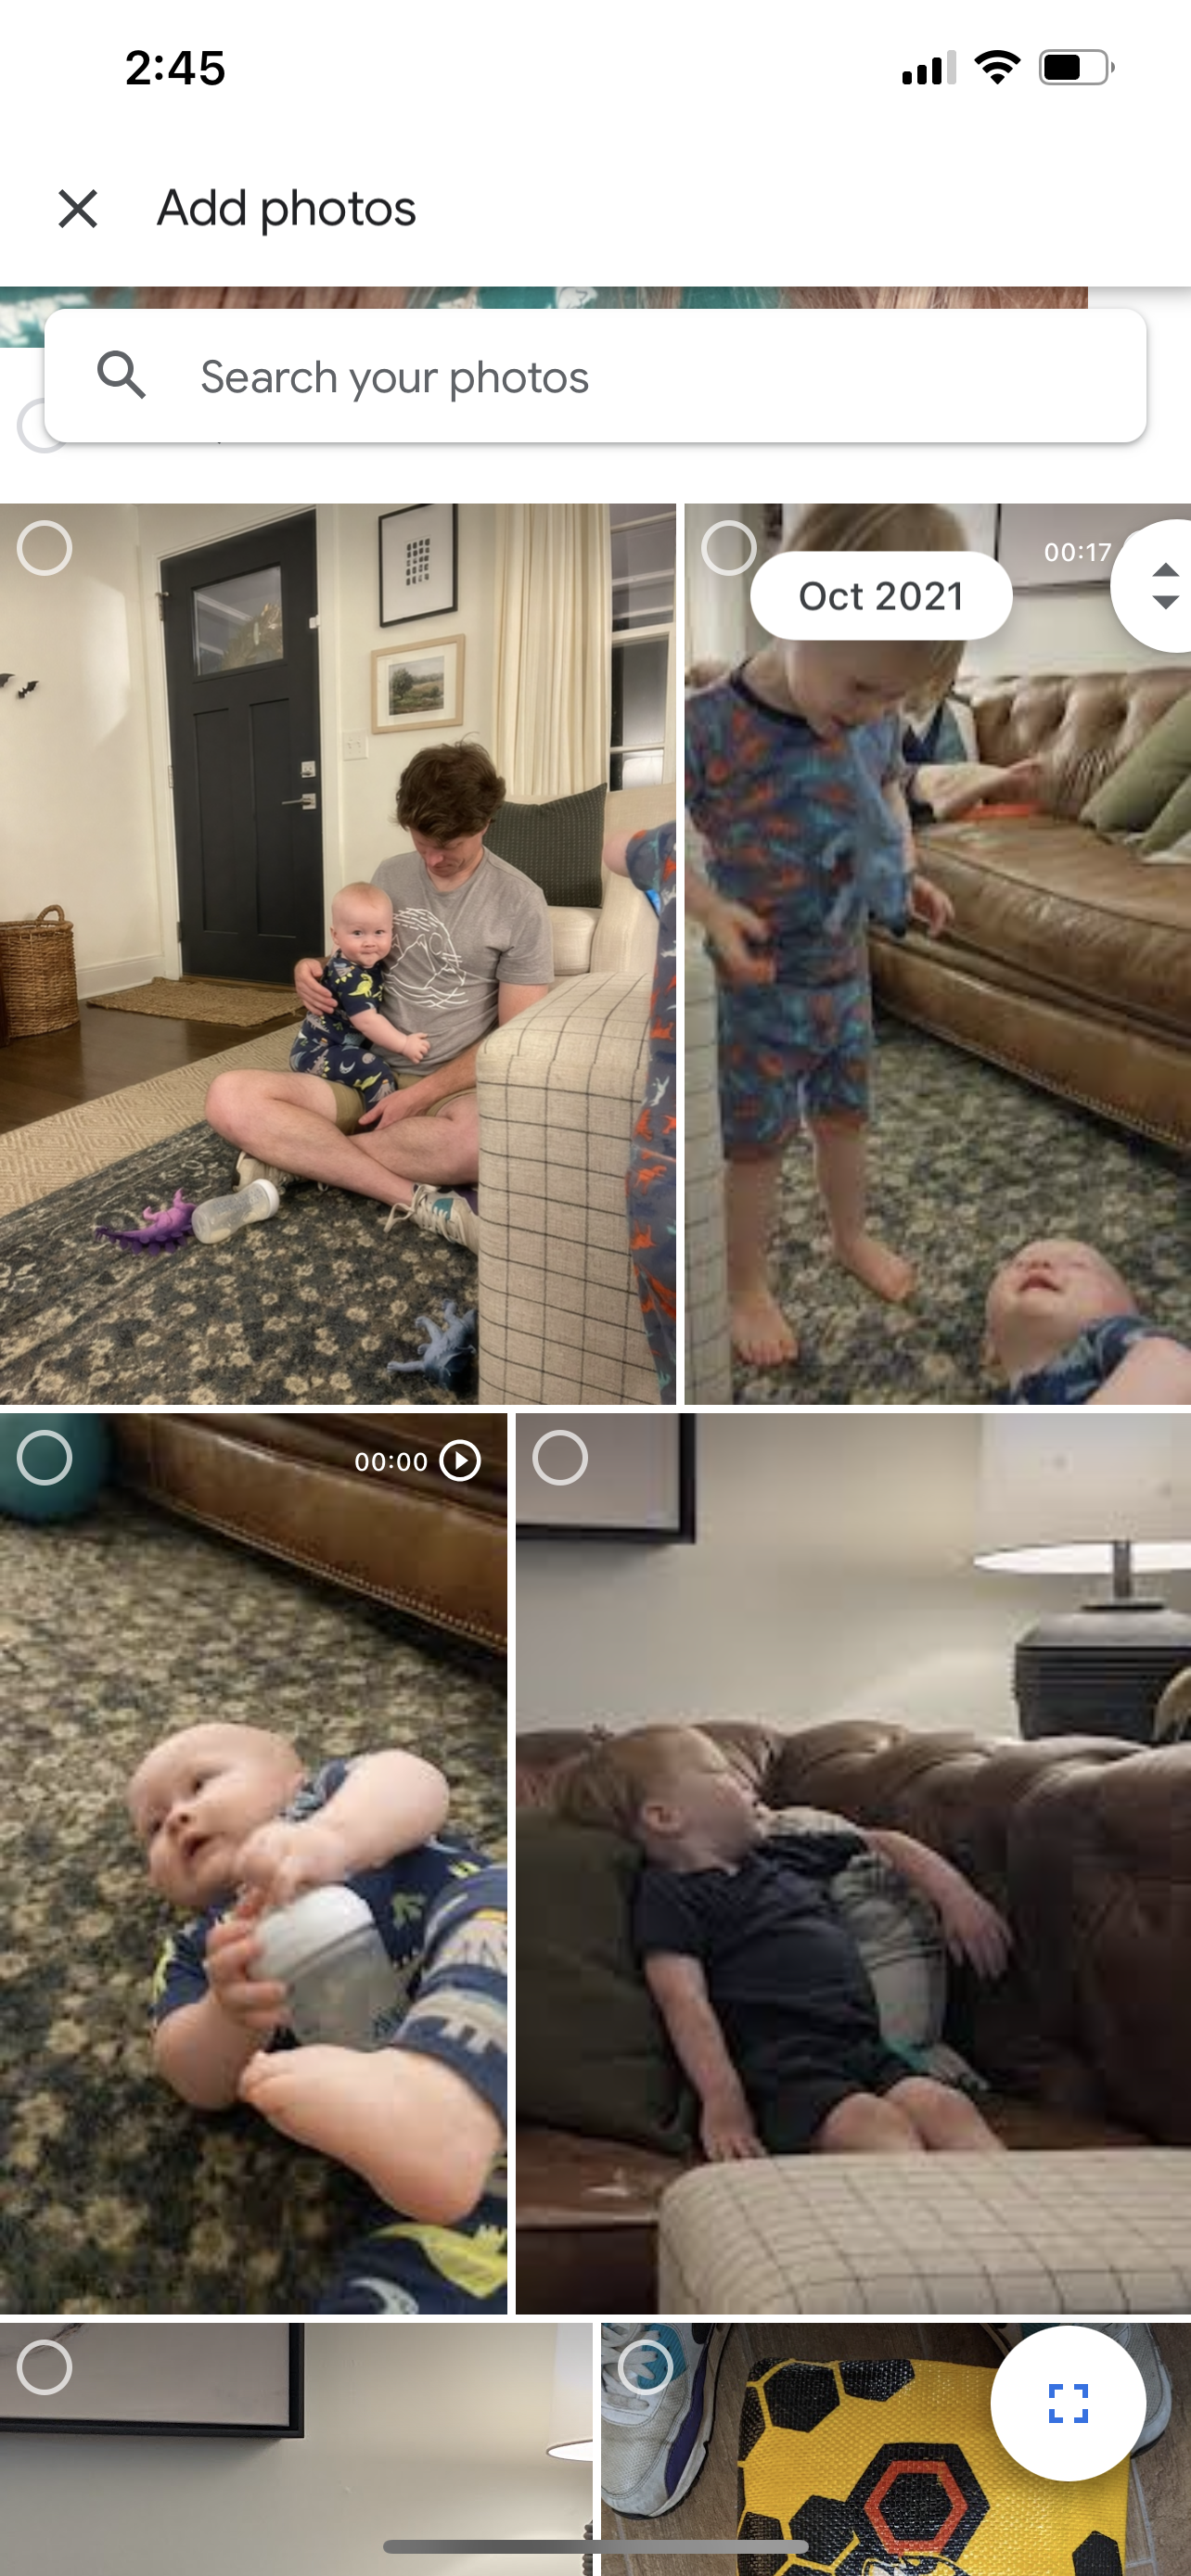
Step 3: Select relevant photos to add to the album.
Since I also create an annual family photo album each year, I like to sort all of my photos by month. So here I would go through all of my photos for the month of October. To do this, tap “select photos.” All of your photos will be availabe for selection. Scroll to the beginning of the month. By moving the up and down arrow cursor on the right-hand side of your screen you can see the month and year (another feature I love about Google Photos). This will help you navigate through hundreds of photos quickly.
Step 4: Save only your best photos to the album
Simply select the photos you want to keep and then click “add” at the top right corner of your screen. You have now ORGANIZED an entire month’s worth of photos.
STEP 5: Repeat steps 1-4 for subsequent months
You may opt to go backward and organize previous months as well. More power to you. Just don’t fall behind on the current month for the sake of the older ones. I like to set a calendar reminder so that I remember to do this each month. It is a great activity for a long car ride, while waiting in the school pick up line or even while you are getting your hair done.
I hope this helps in your photo organization journey. Drop any questions in the comments below!
XO
Caroline