

Organizing Kids Art Supplies + Activities
Today I’m sharing how to organize all of your kid’s (or your own!) art supplies and activities. I’ll walk you through how to use a rolling cart to create your own mobile art station thats perfect for your next craft project.
You may recognize this cart from my postpartum nursing cart that I created when Fitz was born. You haven’t seen this in awhile and I have to confess that its been quite a disaster until now. I get a lot of questions about how to organize the constant influx of kids stuff - namely, messy art supplies and paints. It’s time to formally introduce you to the one and only ART CART. This is a hot new craze and I’m here for it. I knew when I built this cart to use as a nursing cart, I would eventually convert it to an art cart. So today, I’m walking you through all the steps to create your own.
STEP 1: Gather all supplies.
You will need:
Rolling cart (I like this one).
Several Sizes of Drawer Dividers
All art supplies: Markers, Crayons, Construction Paper, Scissors, PlayDoh, Stickers, Coloring Books, Glue, Post Its, Etc.
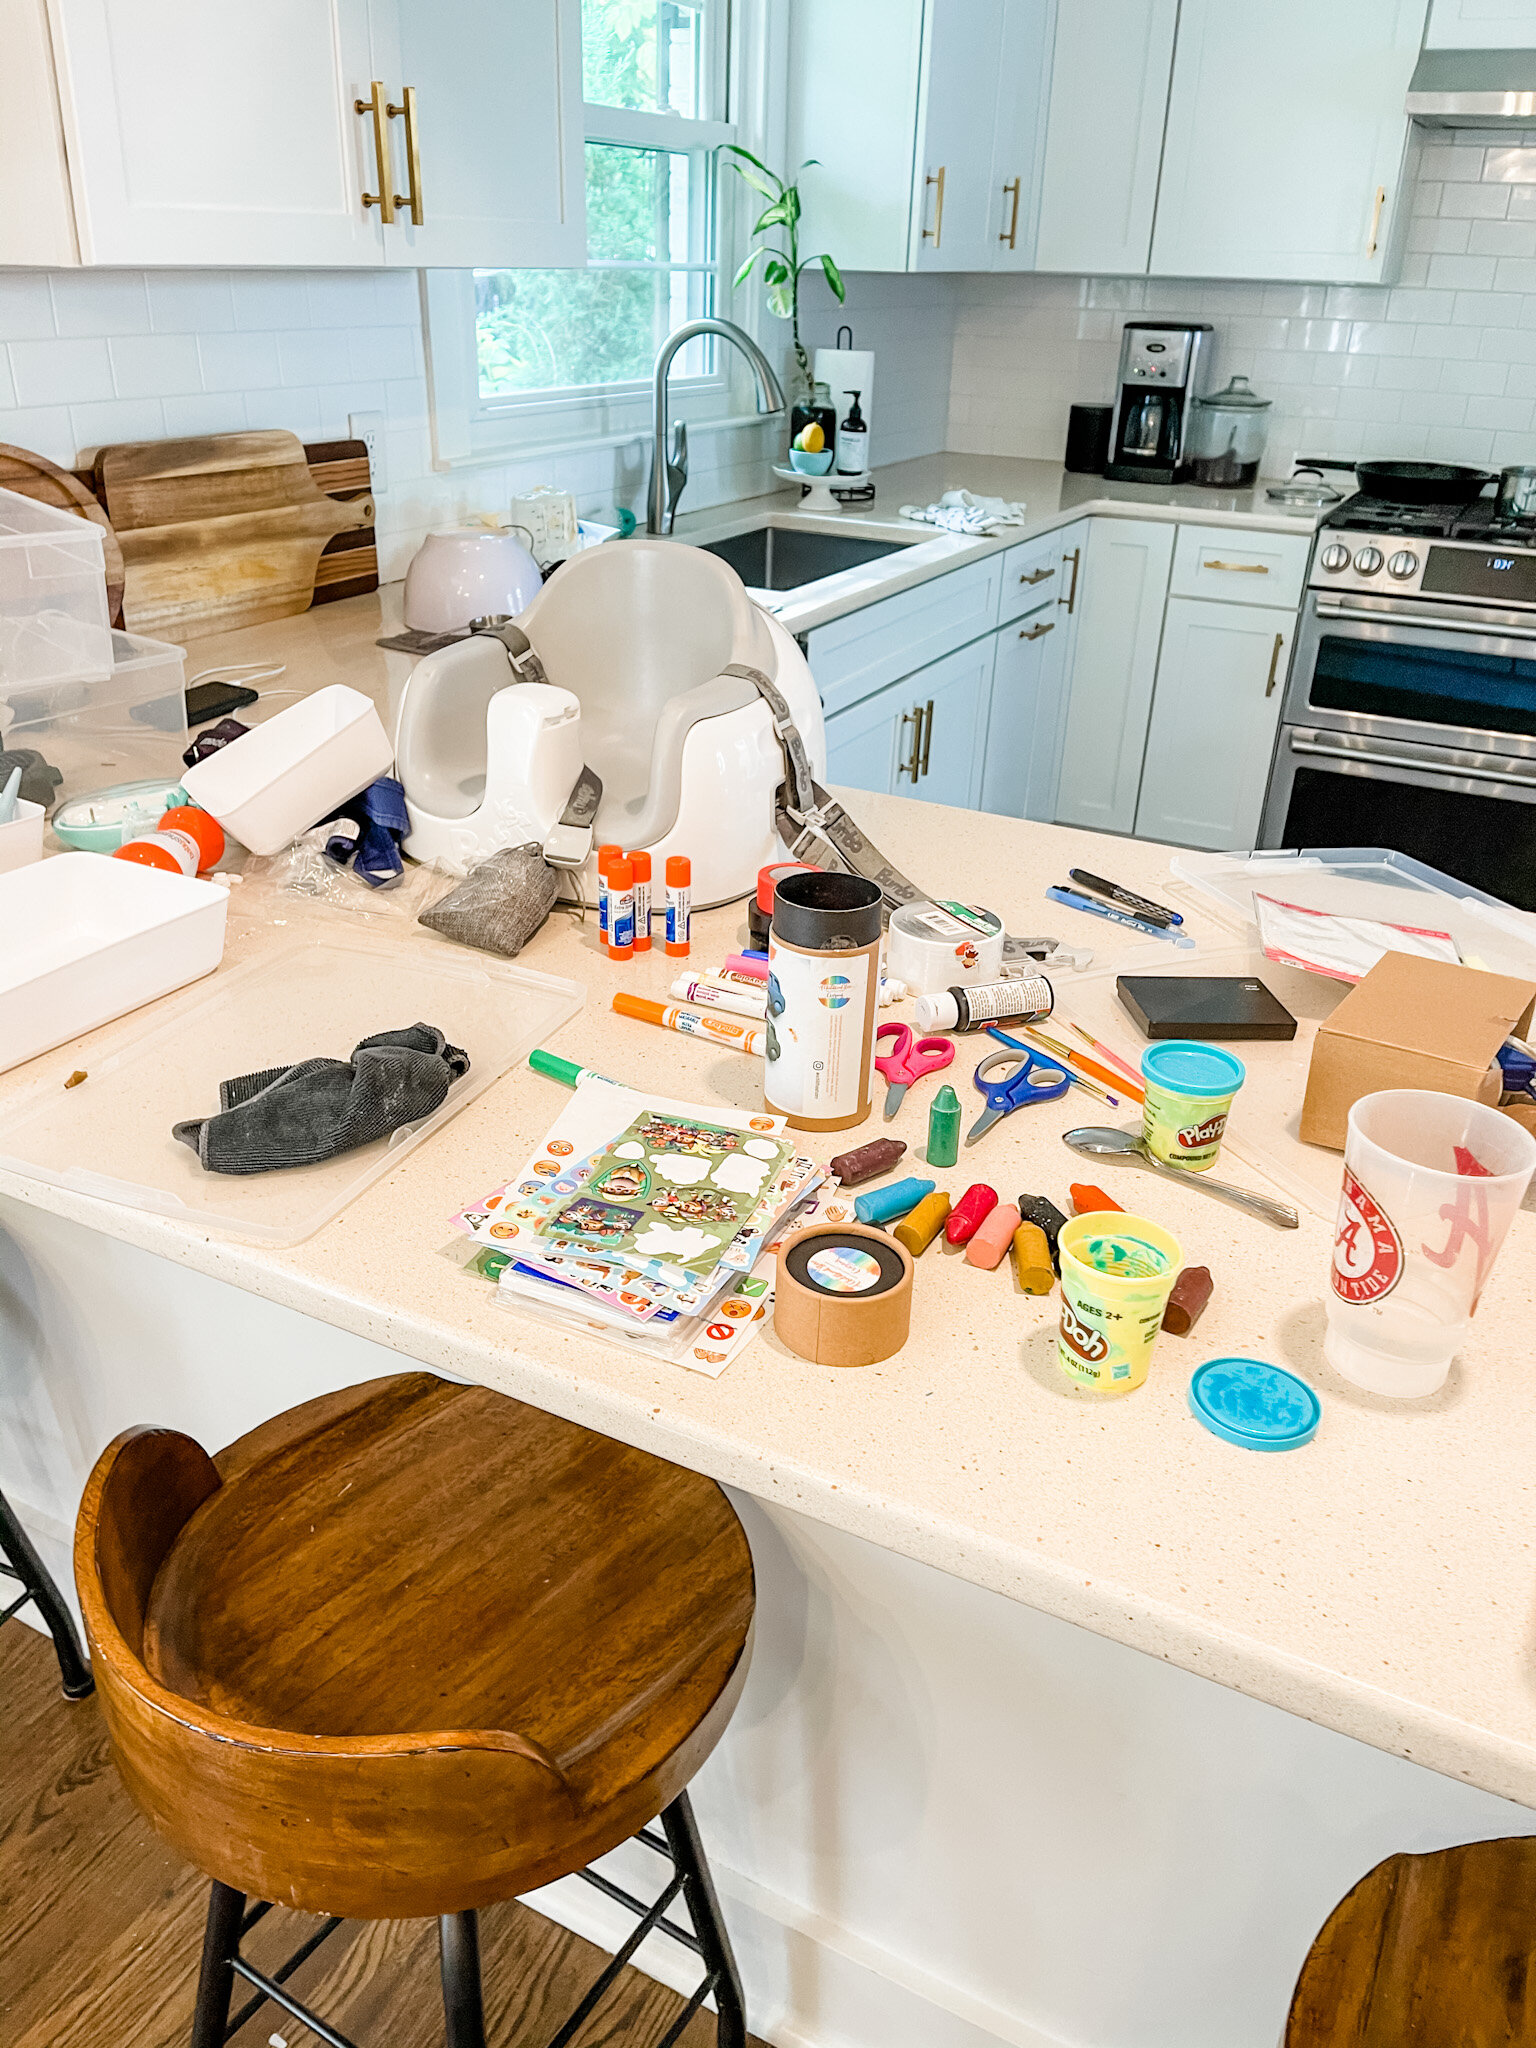
As always, things get messier before they get organized. Take it from the picture above. We don’t have too many art supplies YET but I am excited to have a place to put them as our collection grows (and if its anything like our other toys, then I have no doubt it will be overflowing soon). Gather all of your art supplies as well as the items listed above from around the house. I also linked my favorite picks for these items below.

Step 2: Sort all of your art supplies into like categories.
Now that you have all of your supplies, its time to focus on JUST the art supplies. We aren’t organizing just yet. I know its tempting to jump to the organization portion but trust me and wait. Now I want you to take all of your supplies and divide into categories. Put all of the construction paper together, all of the markers, all of the crayons and so on. Take the time to weed out old, broken and used up items too.
Step 3: Organize your ART CART! 🌈
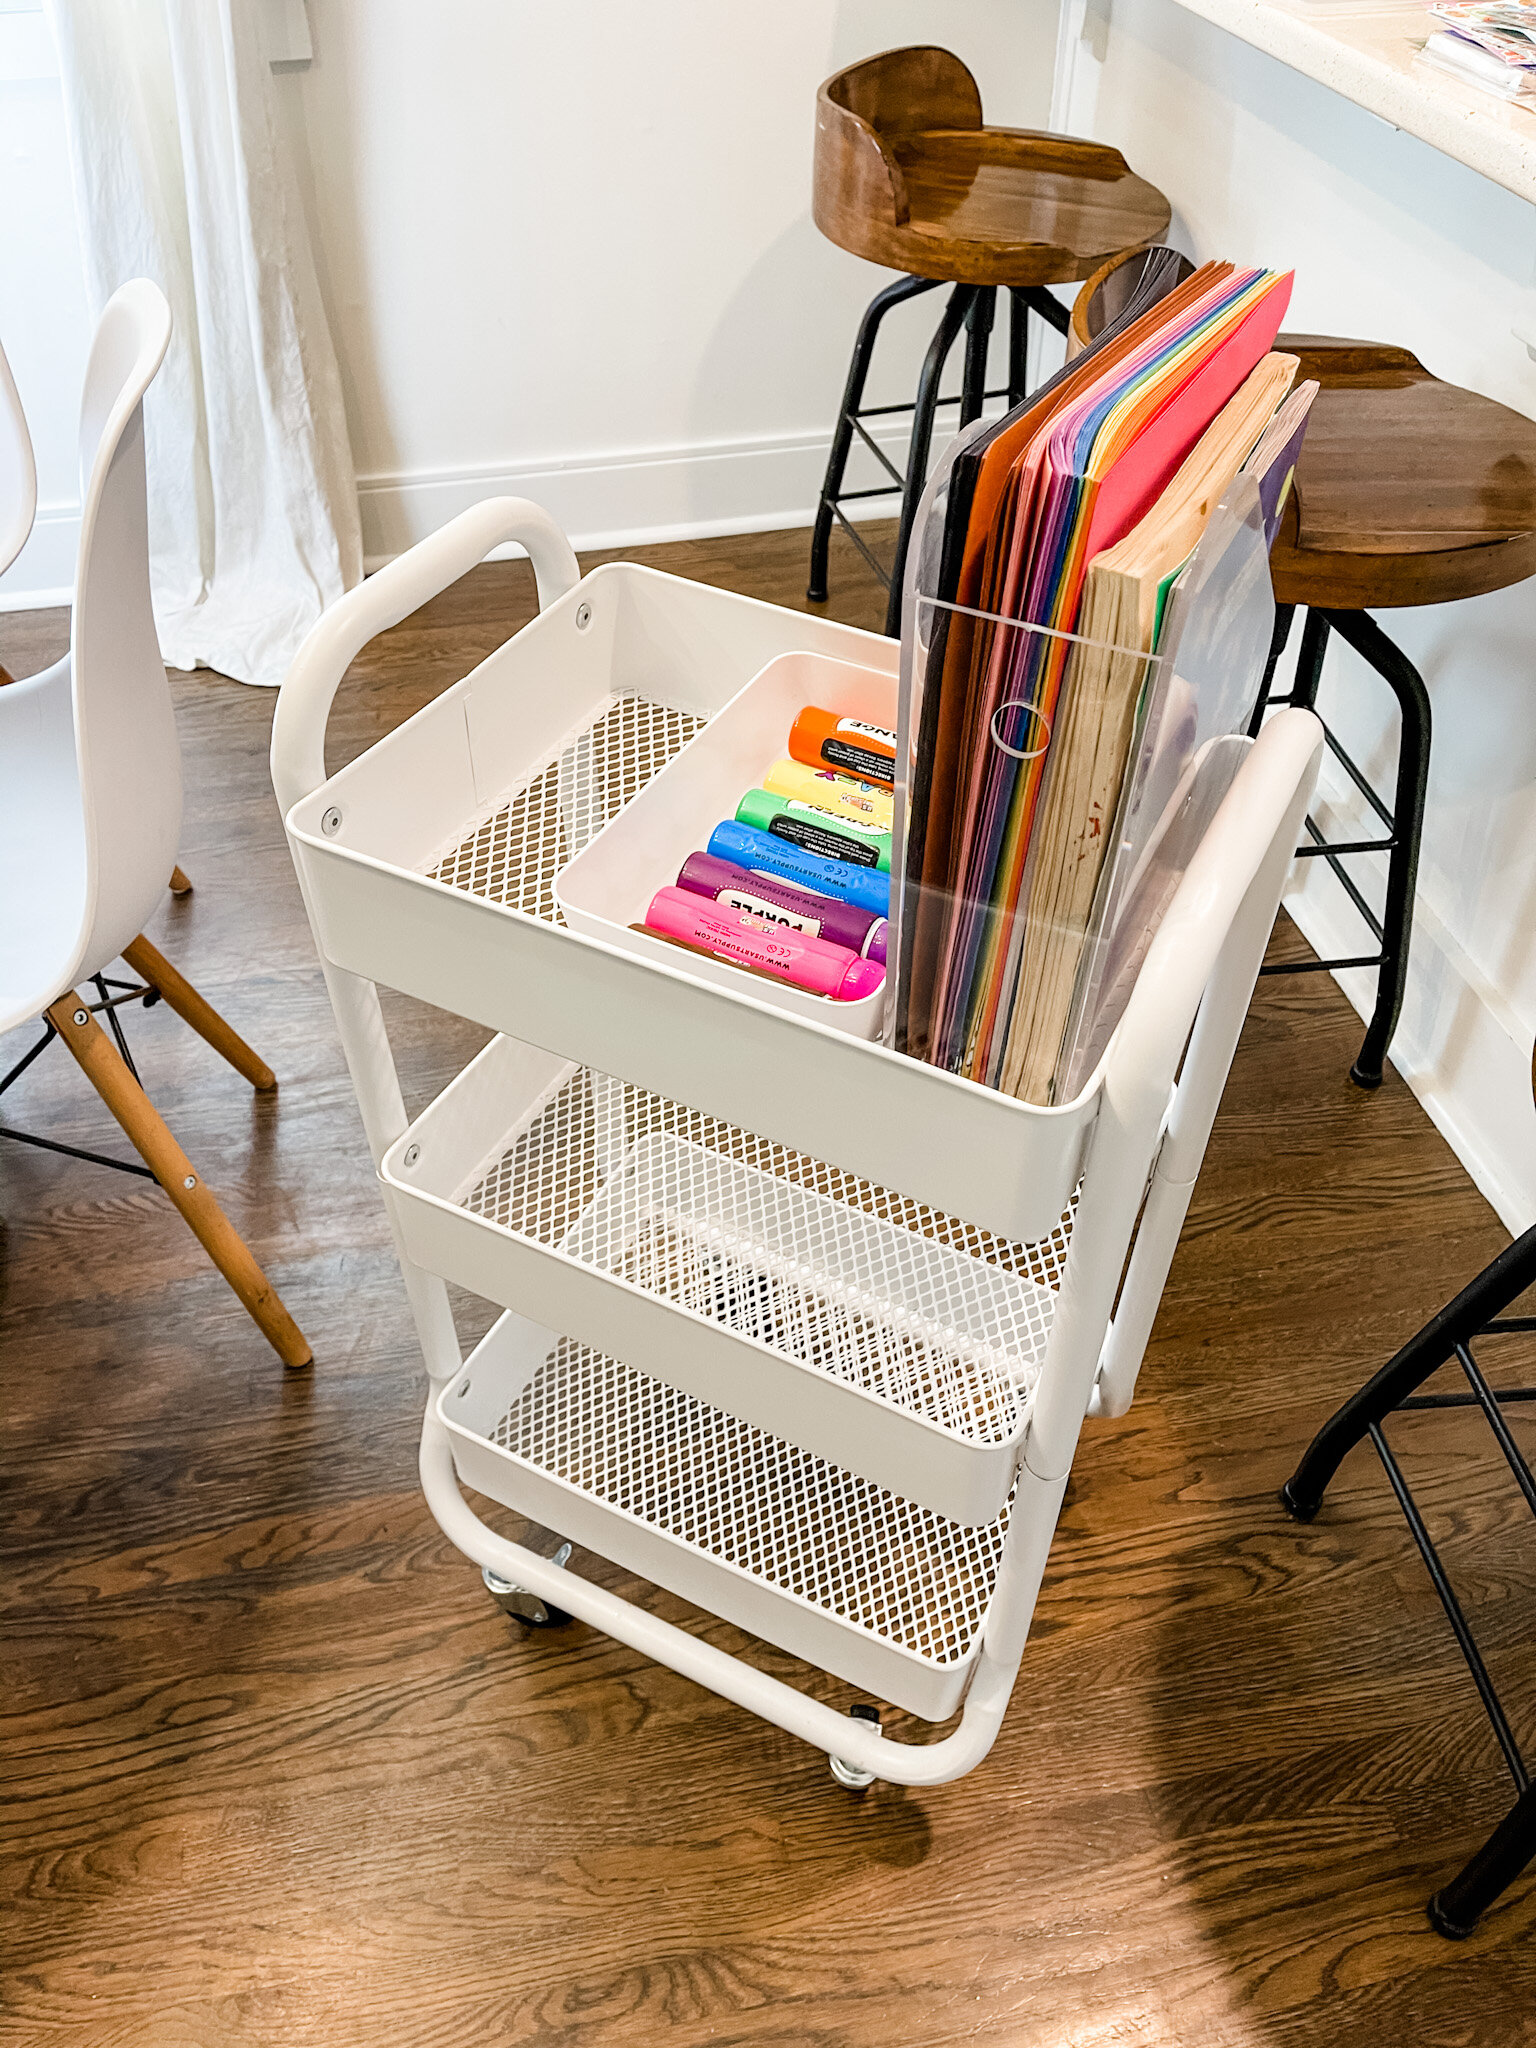
For the organization, I like to start on the top rack and work my way down. Make sure you start with a completely empty cart and take time to wipe it down if needed. I started with a magazine file on top of my cart. From there I started to layer in the drawer dividers. I found it easiest to assign a drawer divider to each item first and then work to tetris the dividers.
Pro Tip: Figure out which items fit best in each drawer divider first. Then work to tetris them onto the art cart.
I also always like to overbuy when it comes to dividers so I can play around with it until I find something that works for me. No one has the exact same art supplies so play around with yours in the cart until you get a good fit. There is no “right” or “perfect” set up. Do what works best for your family and your supplies. You can always return the unused dividers.
Use the magazine holder for construction papers, coloring books and other papers. Depending on how many papers you have, you may want to purchase two holders. We just need one right now.
Step 4: Enjoy making art with your kids!
Here are some things I have found helpful:
Store the art cart out of direct access of kids until you trust them to use the art supplies appropriately. For us, this is in my closet. It is not a traditional art supply location BUT it ensures that I control when we have art time and its actually convenient to the kitchen given we are in a smaller house.
The Golden Rule of Organizing: Put things back where you found them.
You are the Cart Queen. Meaning you are in charge of the cart. I find it most helpful to set up Tommy with a project using supplies on the cart rather than allowing them to have a free-for-all with everything on the cart.
My Art Cart Tour
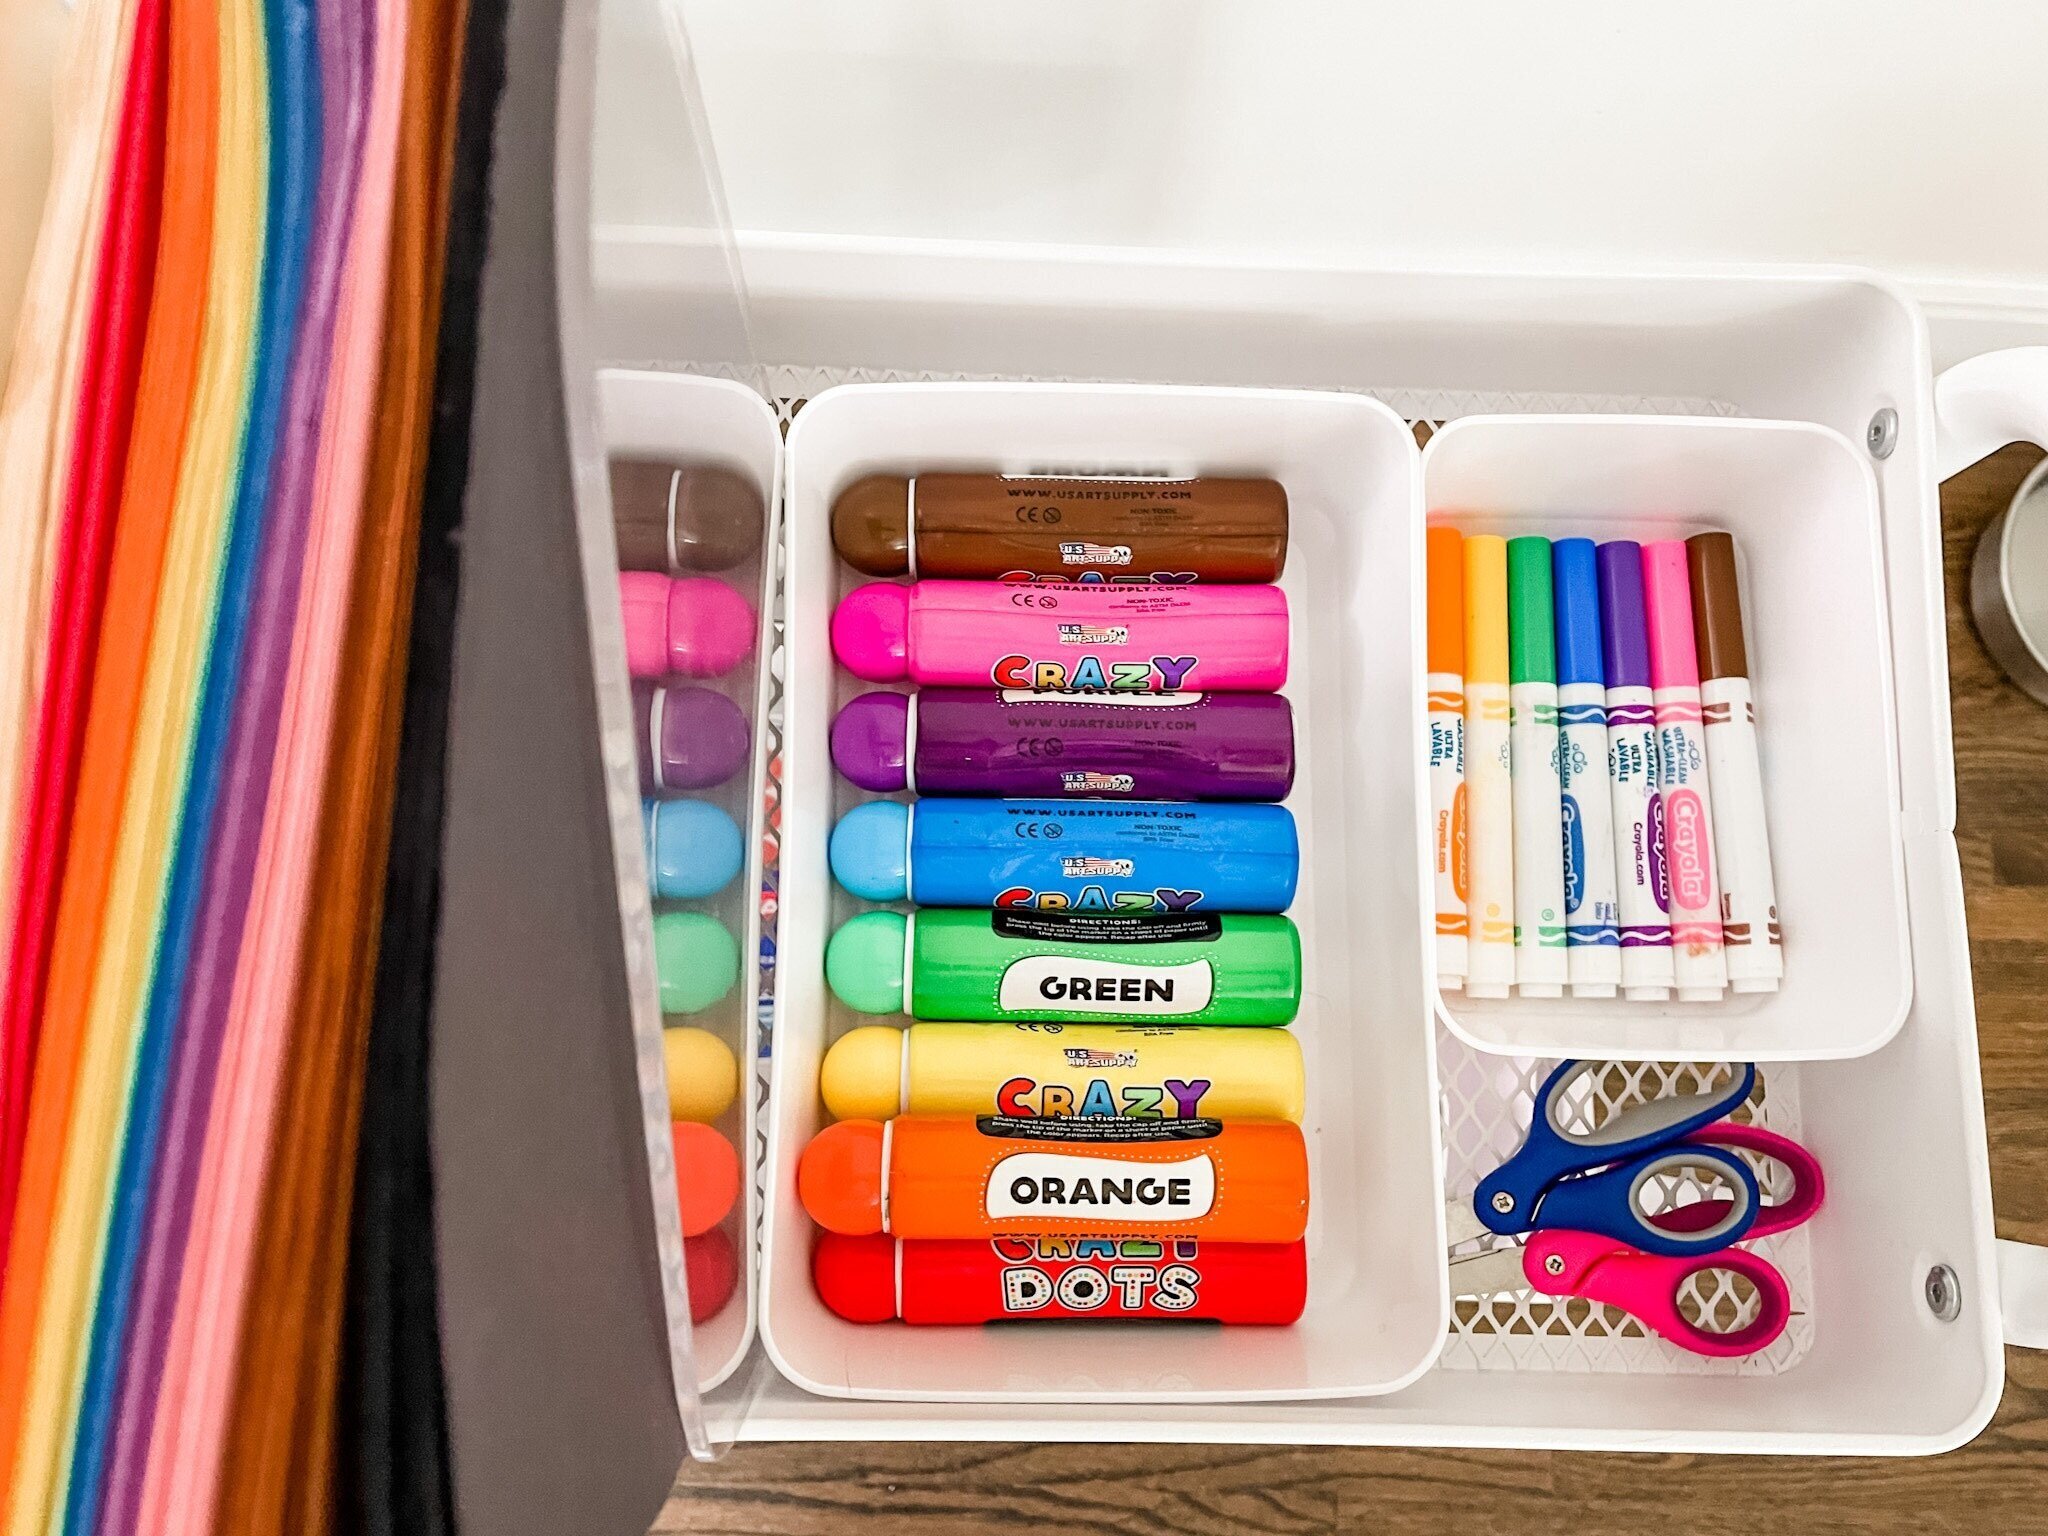
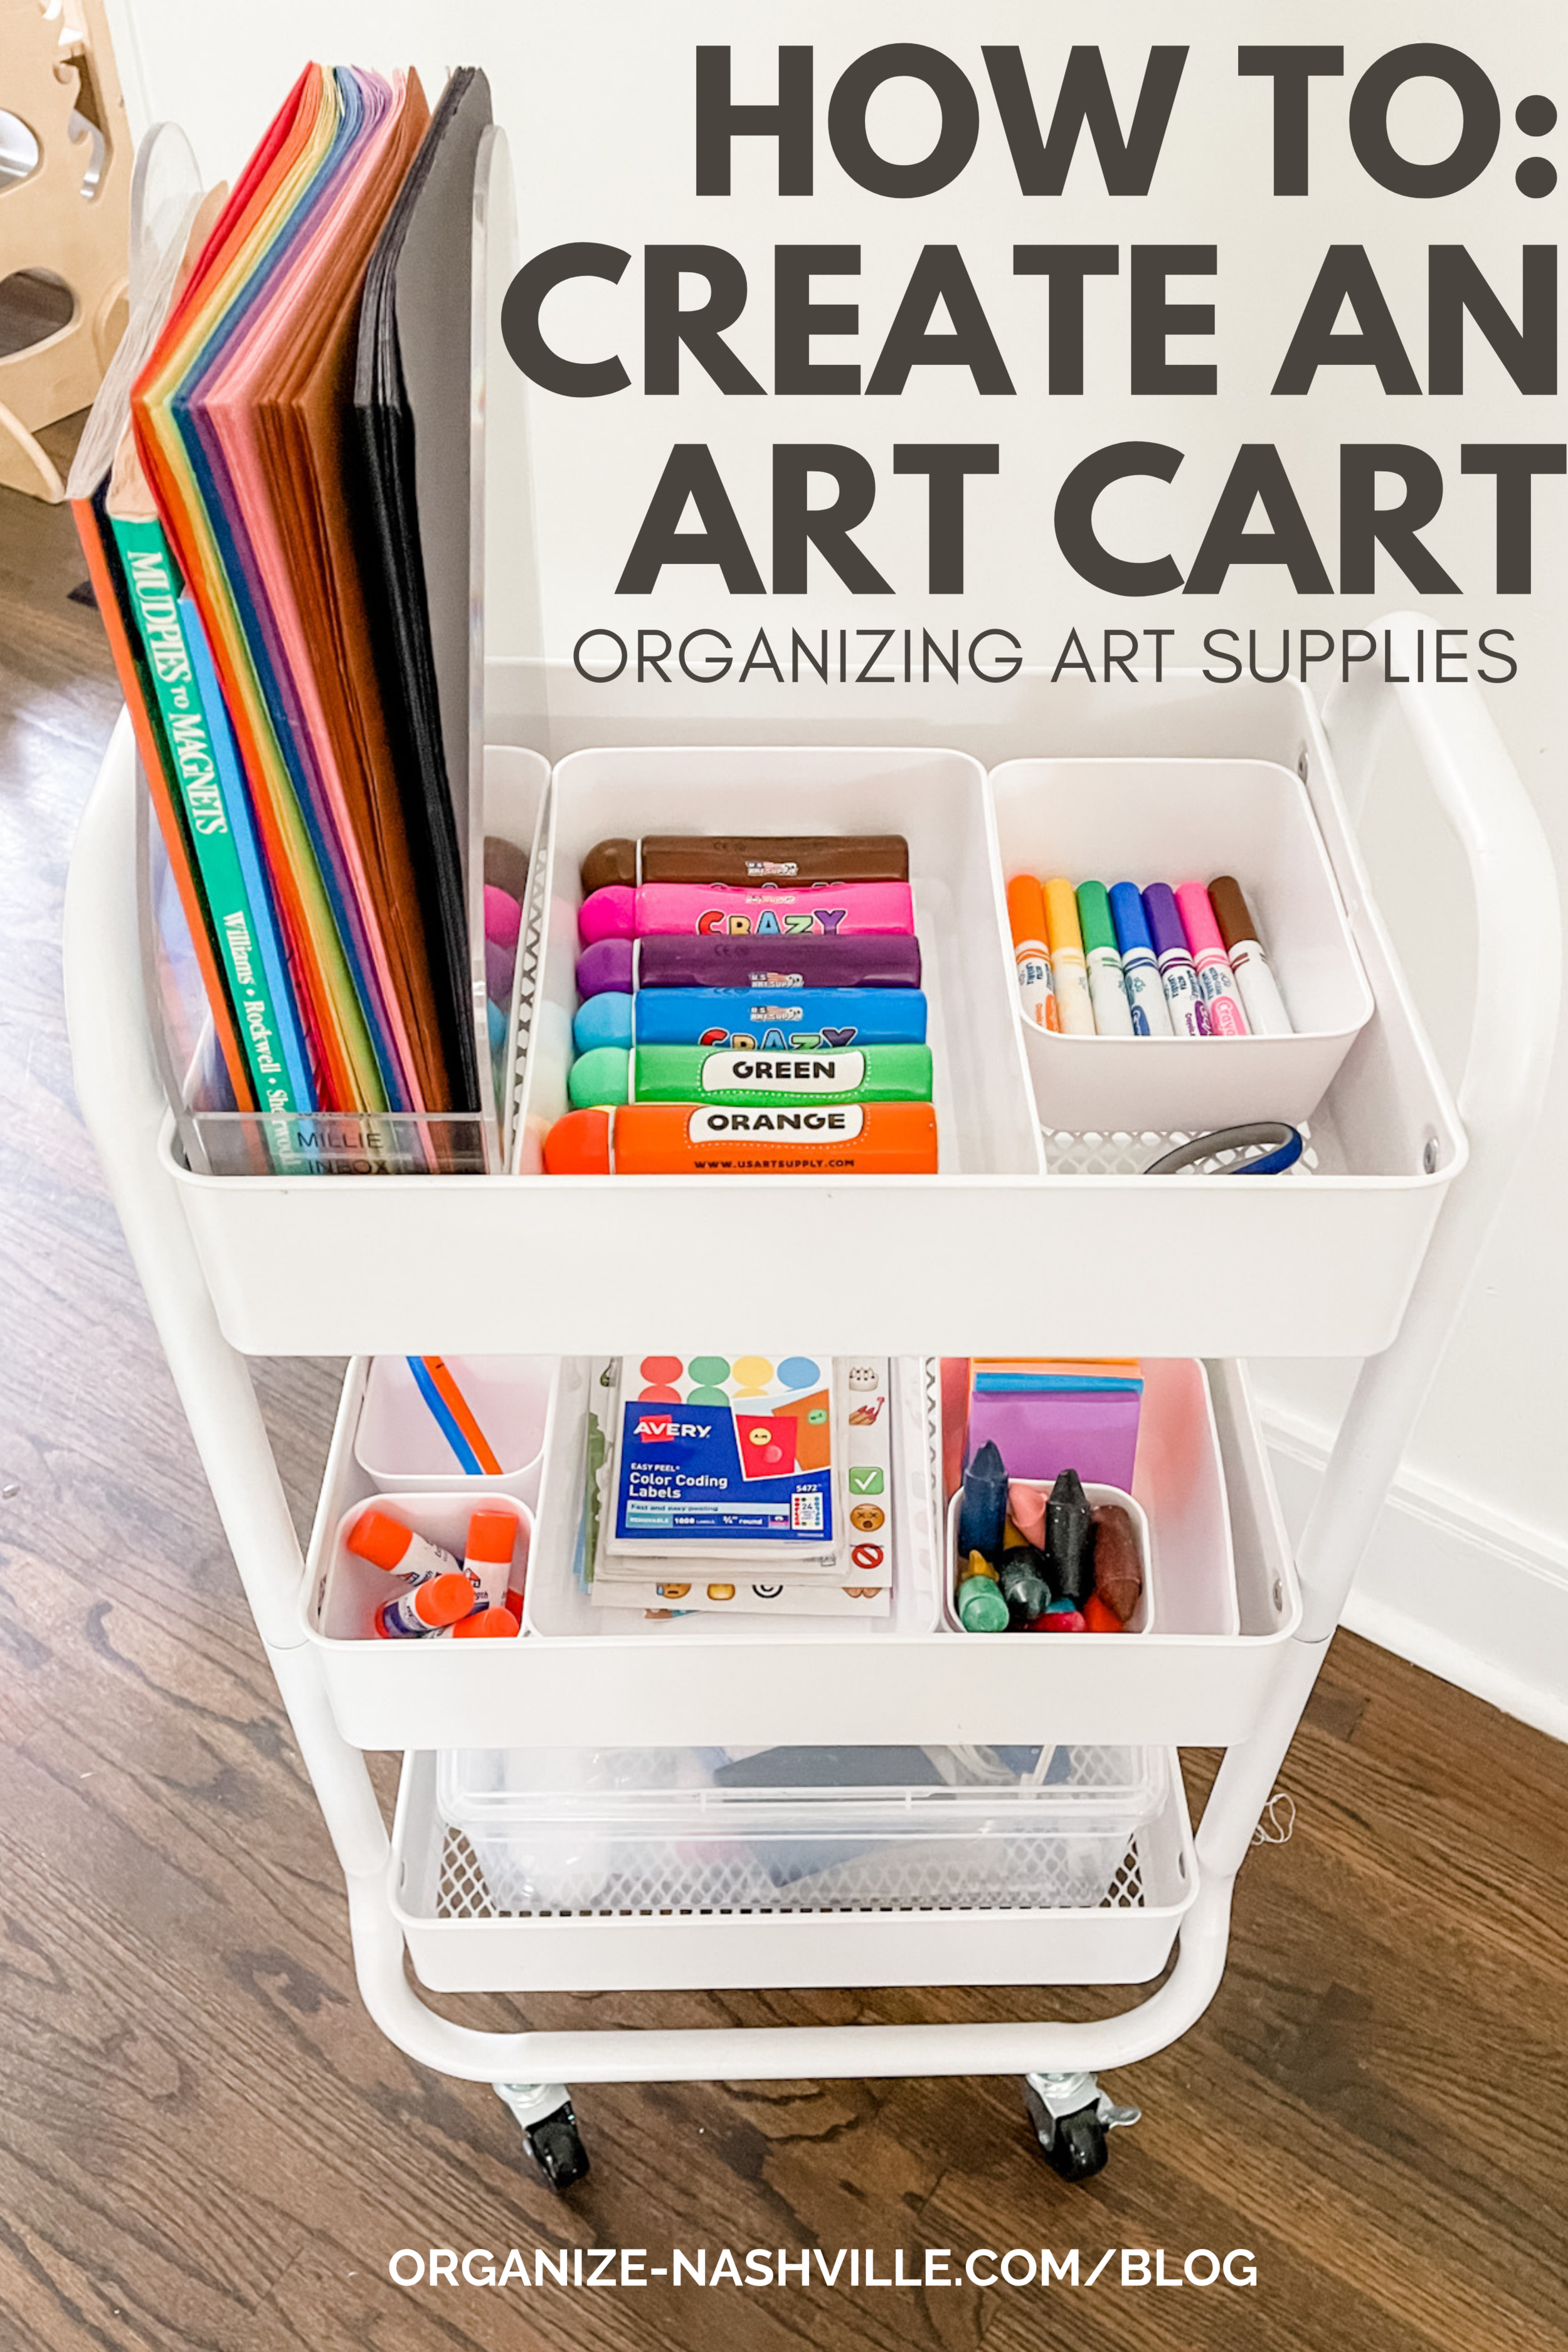
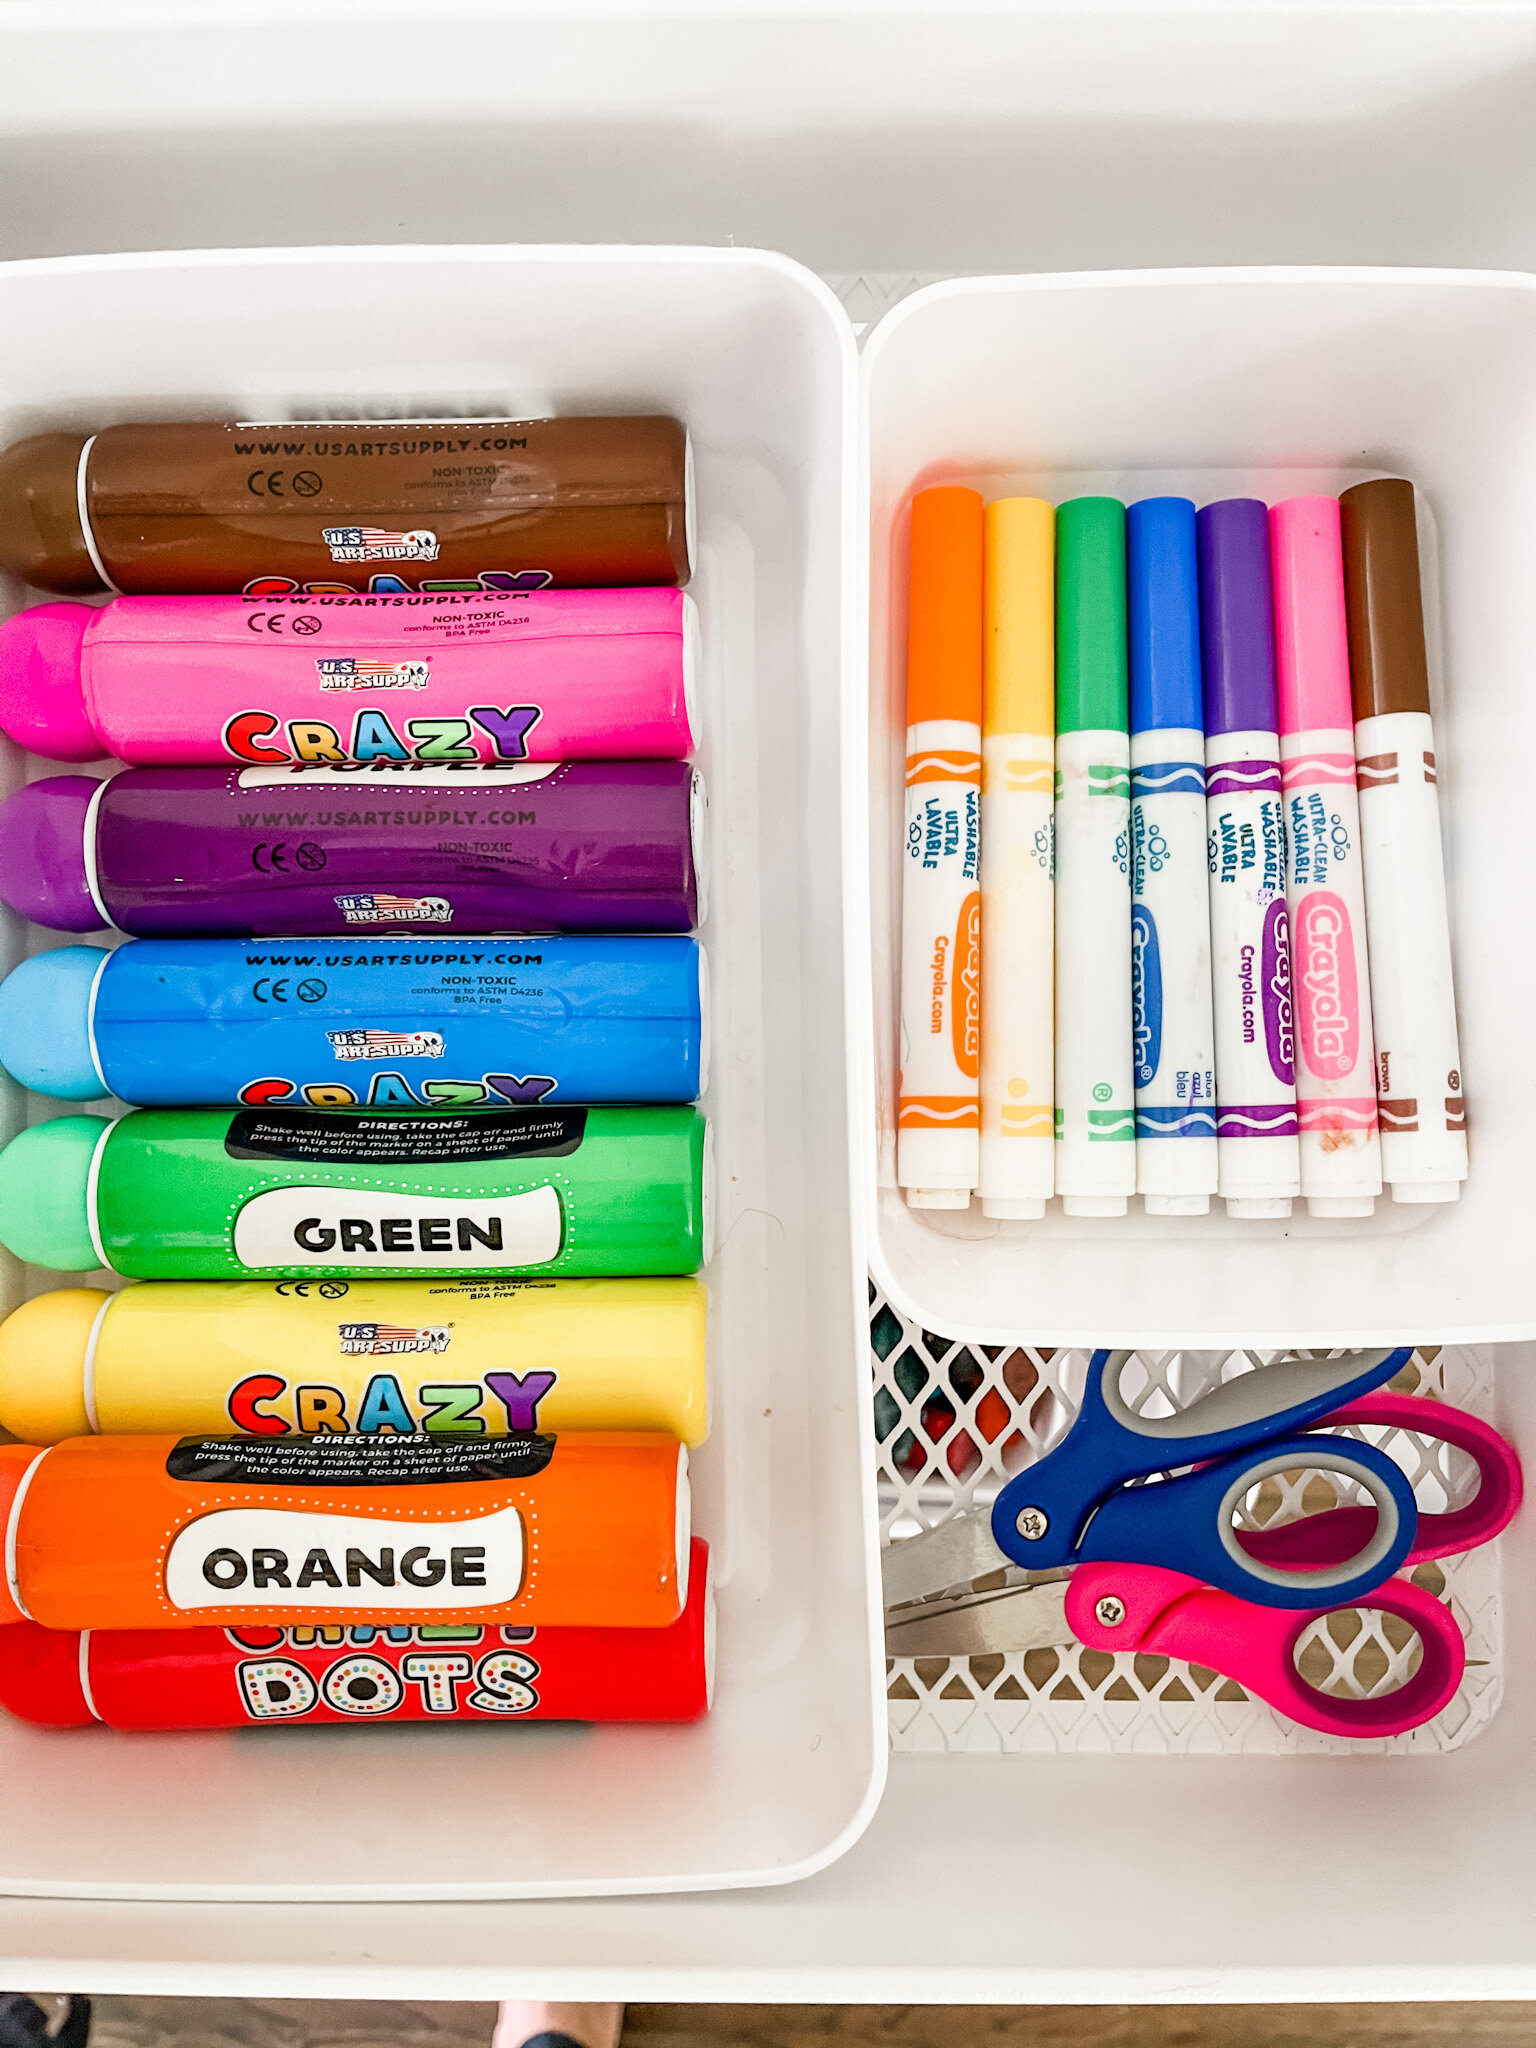
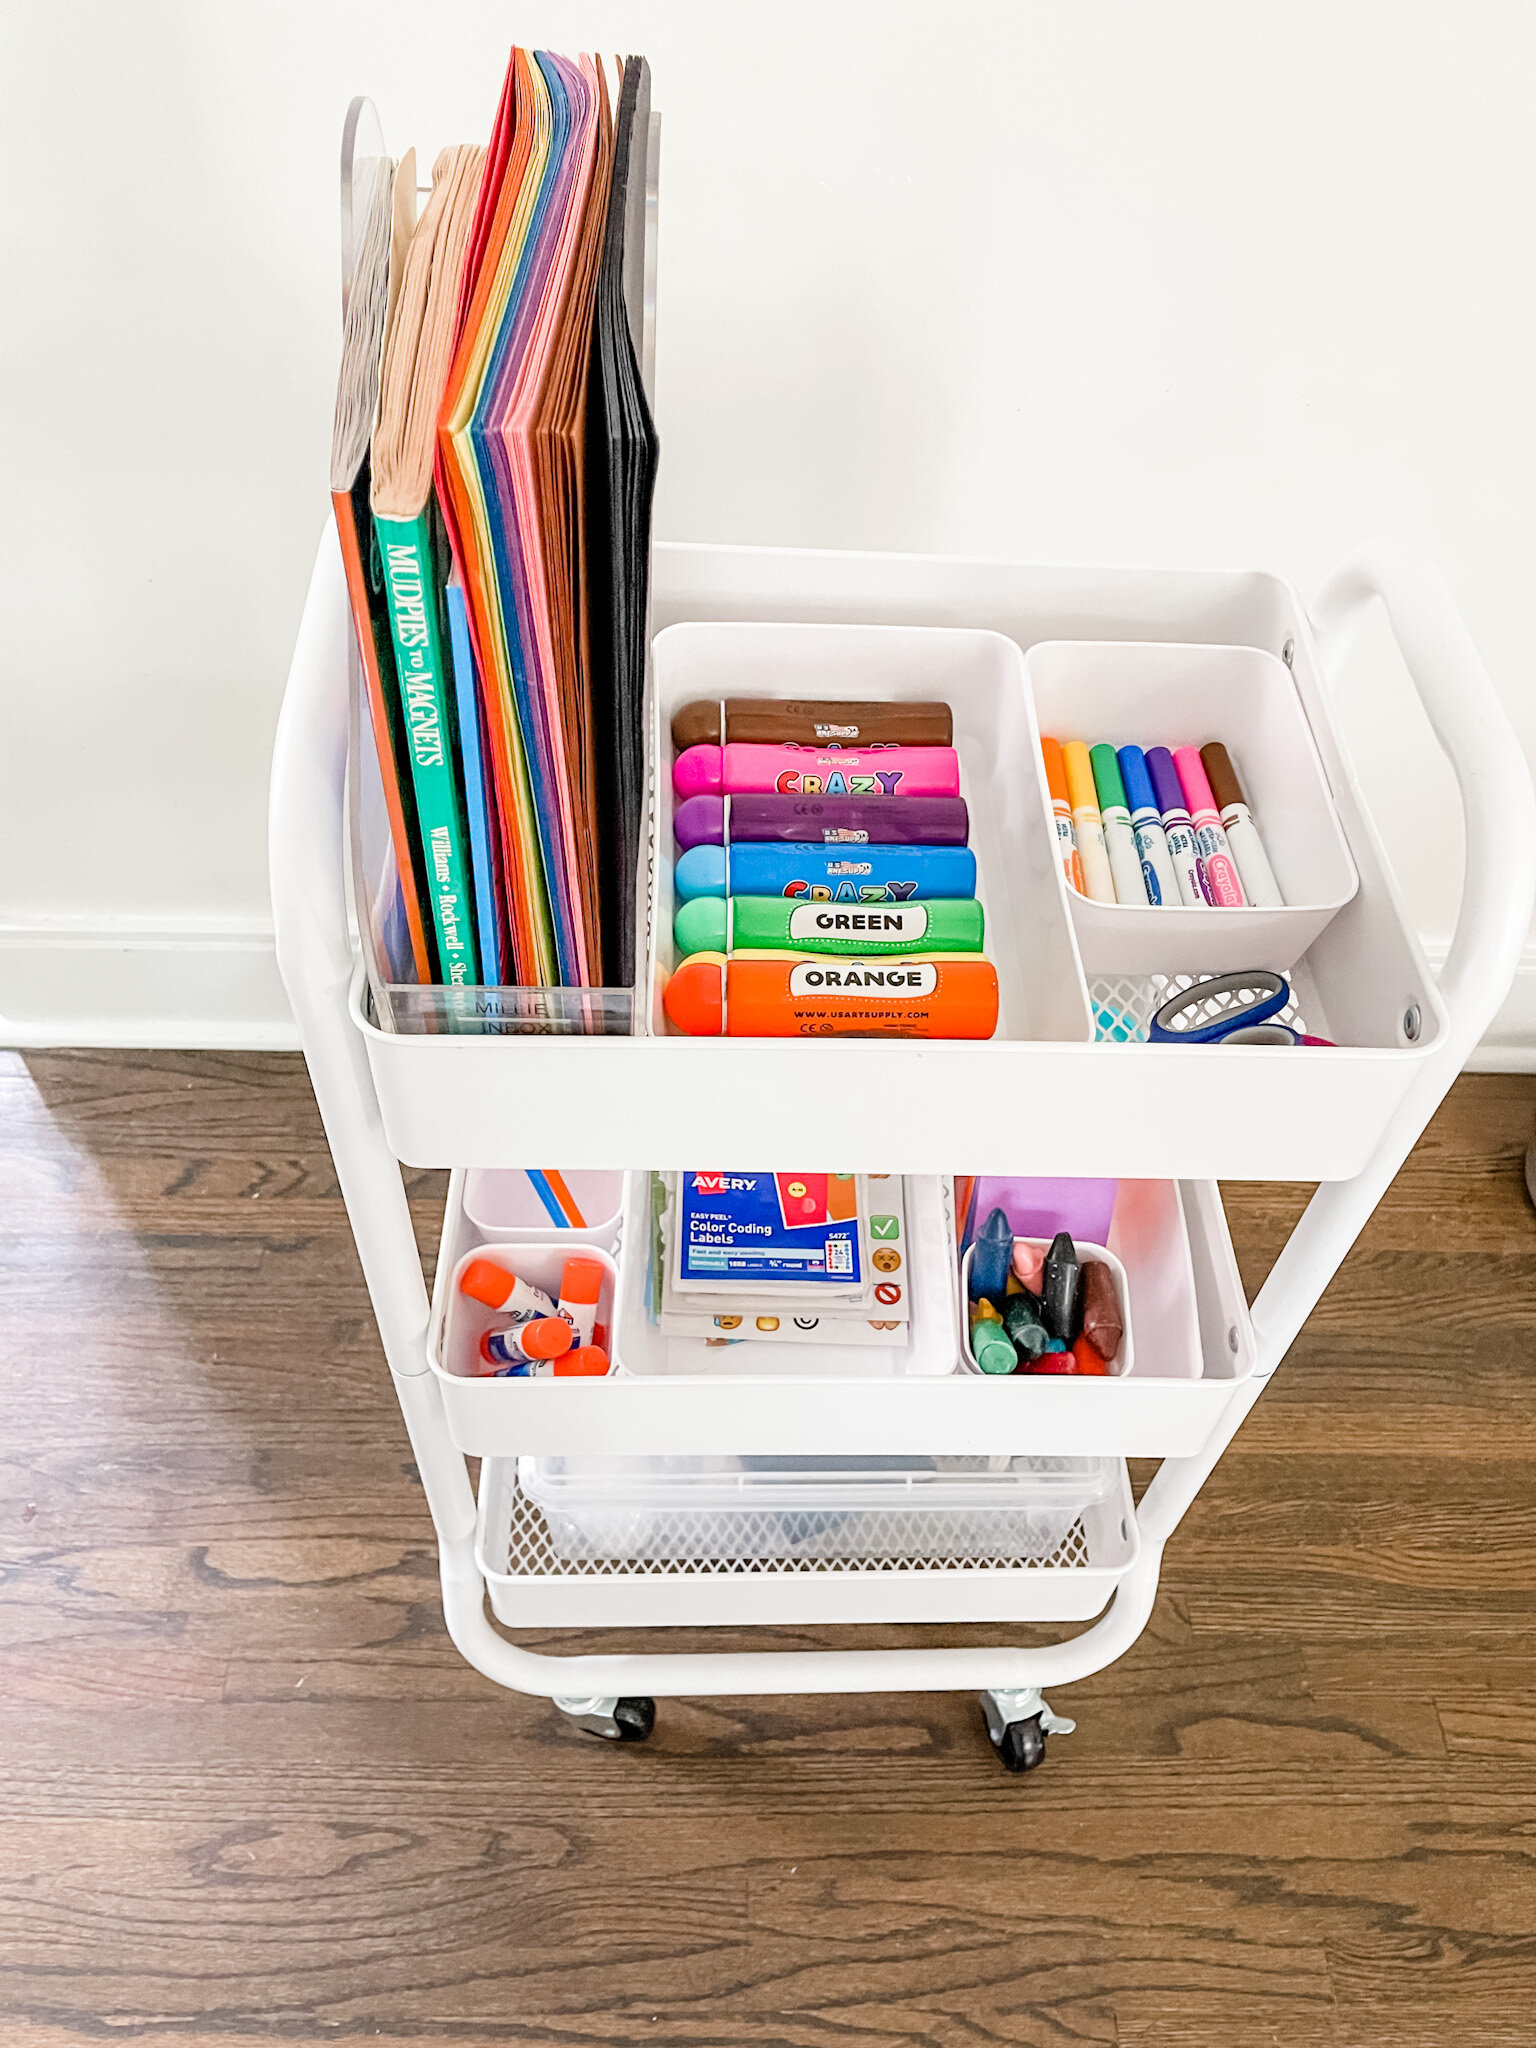
Top Row: Magazine Holder with construction paper, color books, activity book and Color Wonder Paper. Paint Dot Pens, Safety Scissors and Washable Markers.

Middle Row: Glue, Paint Brushes, Stickers, Crayons, Post-its, and play-doh.
Bottom Row: For now, I placed a clear box at the bottom with a glue gun, glue sticks, doilies, and a few other specialty items. I am excited to have room to grow. I was honestly suprised at how much room we have left.
How do you store kids art supplies? Was this helpful? I’d love to hear what you think!
xo
Caro